
You can install your projector in the four following configurations:
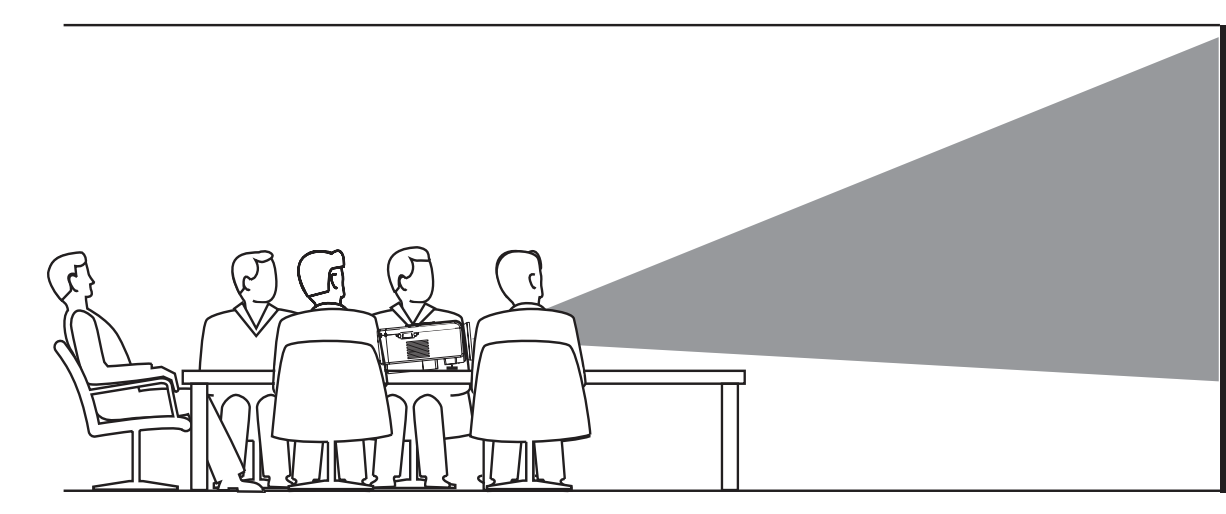
- Front table: This is the most common way to position your projector for quick setup and portability. You just place your projector on a table in front of the projection screen
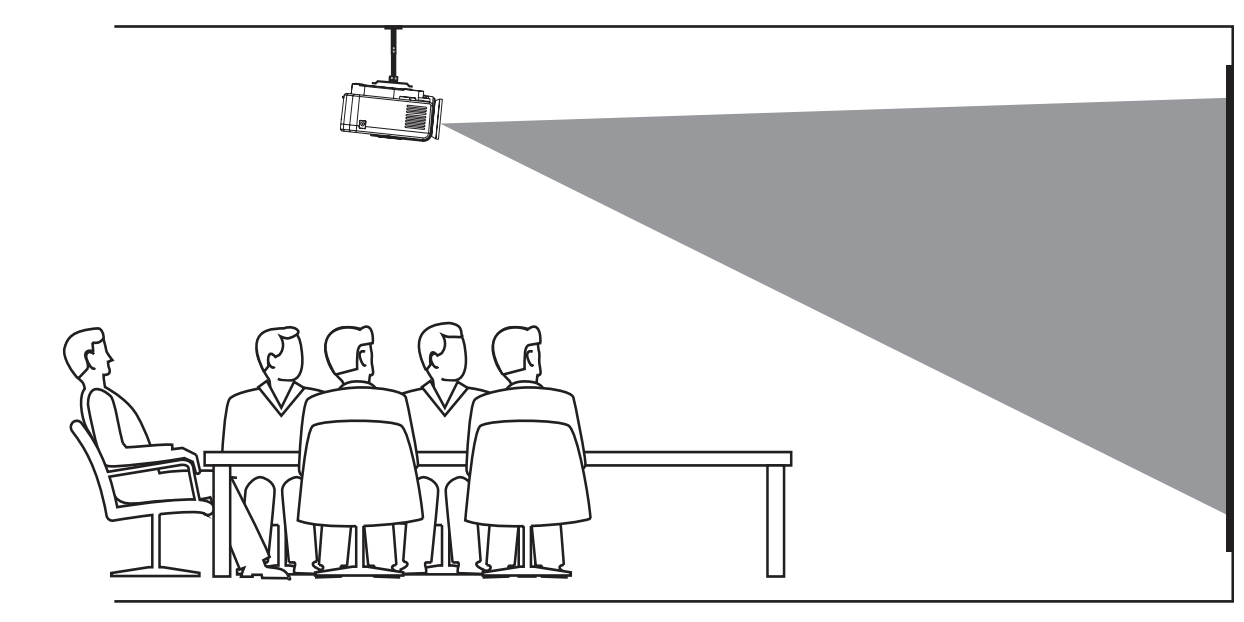
- Front ceiling: Mount your projector on the ceiling with upside up in front of the projection screen
- A projector mount is required to mount your projector on ceiling. Use the tripod mount received with your projector (located in the box)
- Make sure the ceiling can support the weight of your projector and mounting kit
- The product must be securely attached to the ceiling in accordance with the installation instructions, otherwise it may result in accident, injury or damage
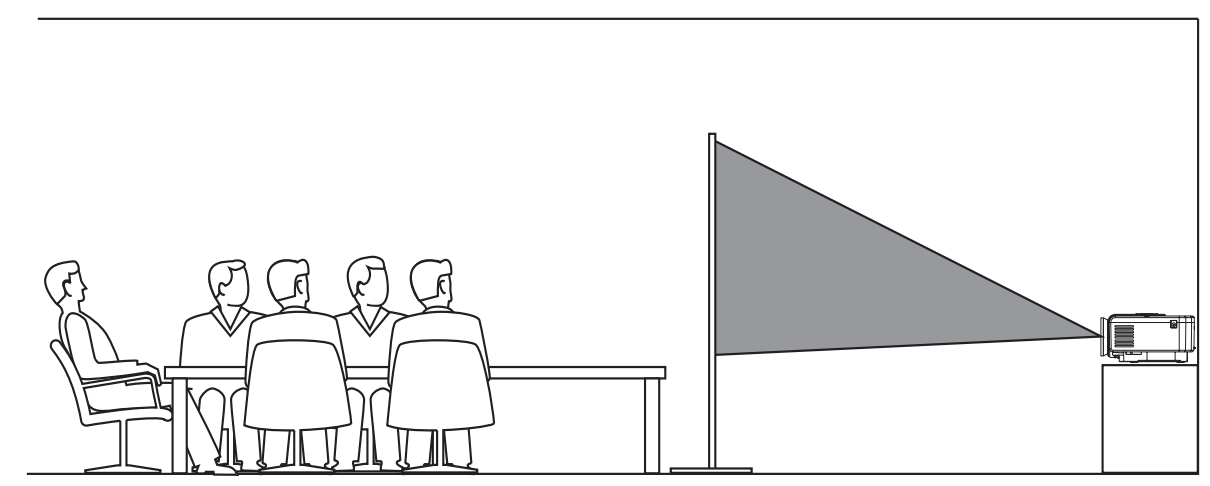
- Rear table: Place your projector on a table behind the projection screen. A special rear projection screen is required
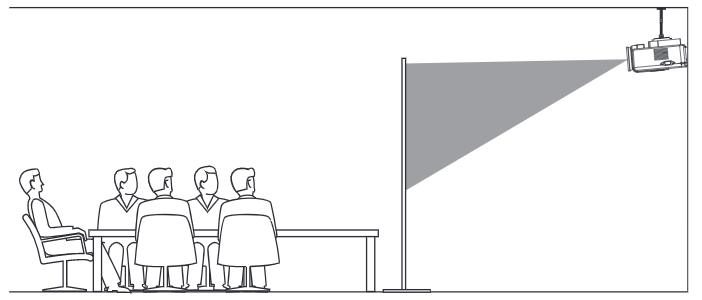
- Rear ceiling: Mount your projector on ceiling with upside up behind the projection screen
- A projector mount and a special rear projection screen is required to mount your projector on ceiling behind the screen. Use the tripod mount received with your projector (located in the box)
- Make sure the ceiling can support the weight of your projector and mounting kit
- The product must be securely attached to the ceiling in accordance with the installation instructions, otherwise it may result in accident, injury or damage
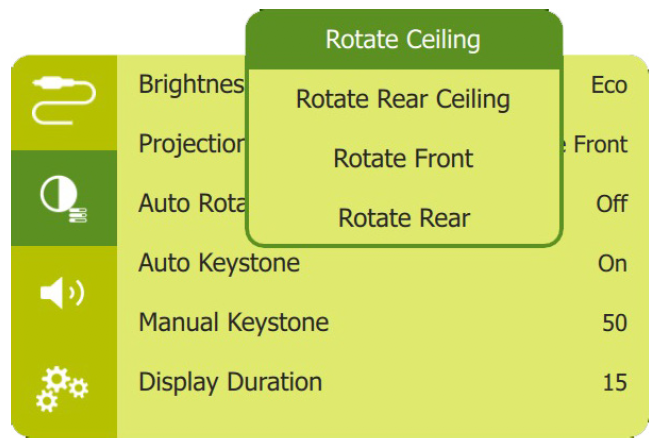
Adjust the projection: To adjust projection to the correct position, press the Settings button on your remote to access the settings menu, then navigate to select Projection Mode - Rotate Rear Ceiling, then press OK on your remote
Comments
0 comments
Article is closed for comments.